
You need a trustworthy HVAC contractor - Total Comfort Systems
 |
One of the first things we did was replace the old, huge all-in-one unit. It was past its prime. And it was HUGE. It took up way too much real estate on the back patio.
Behold.....the big ass HVAC unit/real estate hog......
 |
| Before The big ass, ugly, loud HVAC unit |
 |
| After It's gone! It's gone! Thanks to TCS who hauled it away. |
Since we replaced the system, we moved the outside units (it is a split level, so we had 2 units installed. One for downstairs. One for upstairs.) to the left side of the house, away from sight and makes it easier to service.
 |
| The new home for the 2 HVAC units. |
Here are a few pictures of the project during. They aren't sexy, but hey....if you took the time to read this far into the post, you must be thinking about doing this to your house.
 |
| This is the downstairs coat closet (entryway) before demo. This was where the old return was. |
 |
| This is the downstairs coat closet in the entry after demo. This where the original return was located. We chose this as the location of the new return as well. |
 |
| This is the ceiling in the downstairs bathroom. It is directly behind the coat closet (separated by a wall & a shower). This is the beginning of the new ductwork. |
 |
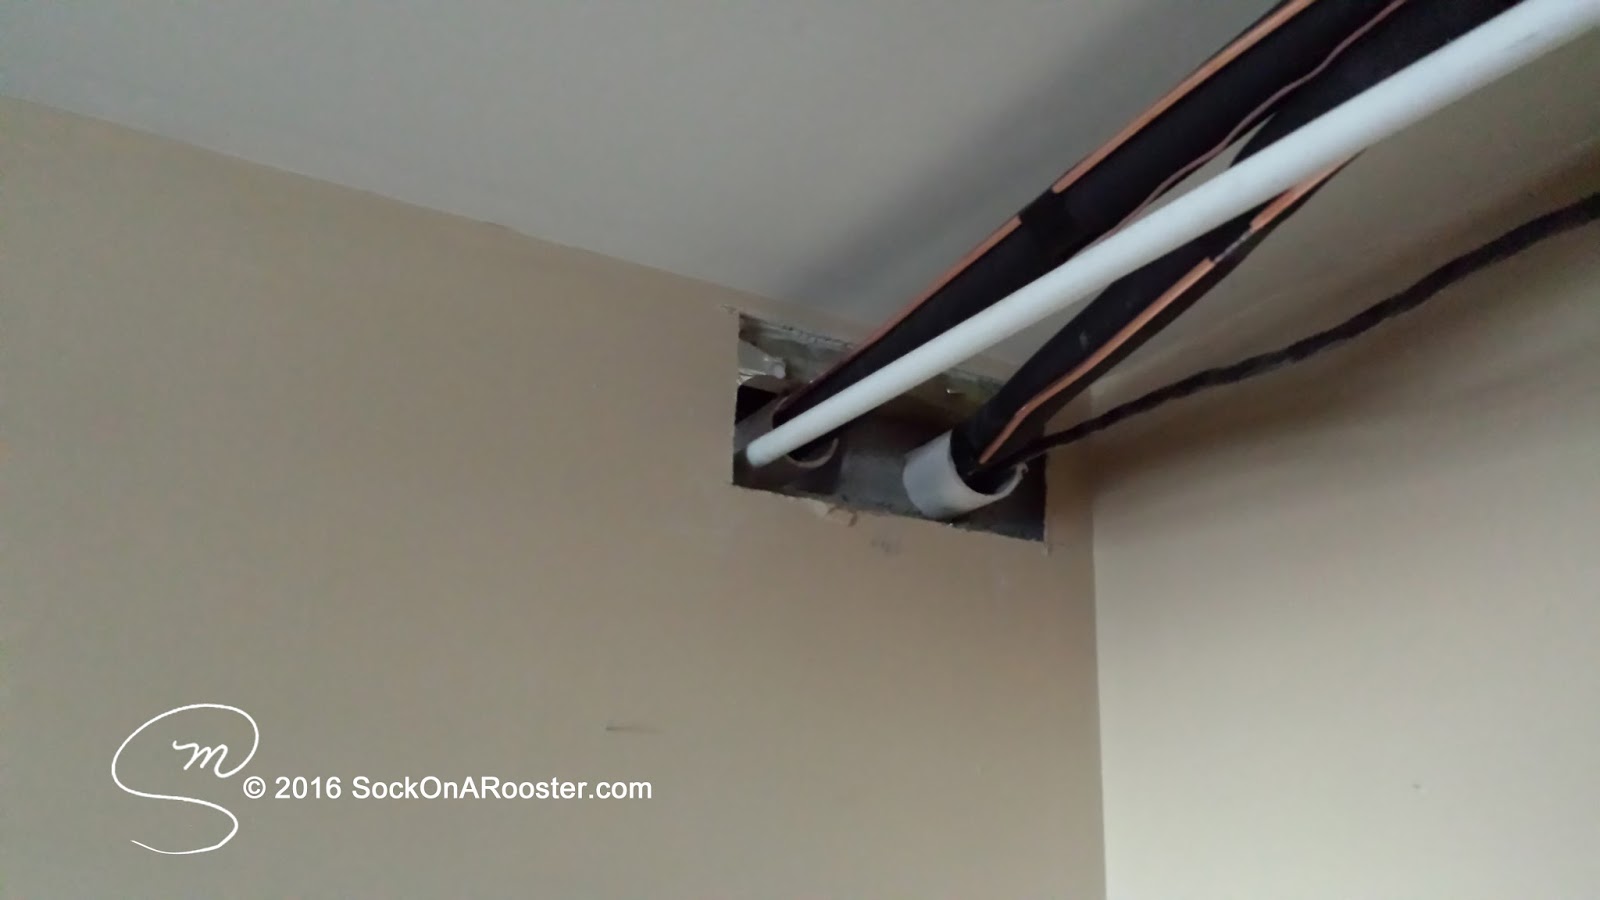
| The duct work, supply line, condensation pipe, and main electrical trunk had to be tucked in the ceiling of the downstairs bedroom. This will be boxed in later by drywall. This room is directly across from the bathroom in the previous picture. |
 |
| Standing in the same room, looking left, that is an exterior wall. Actually, it is THE exterior wall in the picture posted above (from the outside). This is where all those tubes, pipes and wires hanging against the brick originate. At this point in the project, I can stand in this room and see daylight through the conduit. This room is slightly below grade about 3 feet. |
 |
| This is the master bathroom before. This vent was in the wall. Other than the basement/den area, there were few wall vents. Most all the other vents were in the floors. |
 |
| This is the shed at the front of the carport. The downstairs heating system went in this shed (to the right). This is a shot of all the ducts and insulation before installation. |

Comments
Post a Comment